What is Adobe Illustrator?
Illustrator is a software developed by Adobe that allows raster images to be converted to vector images. The software allows its users to create high quality artwork. Illustrator is used by graphic designers, professional artists, and everyday people with an interest in creating artwork.
Acrylic Key-Chain
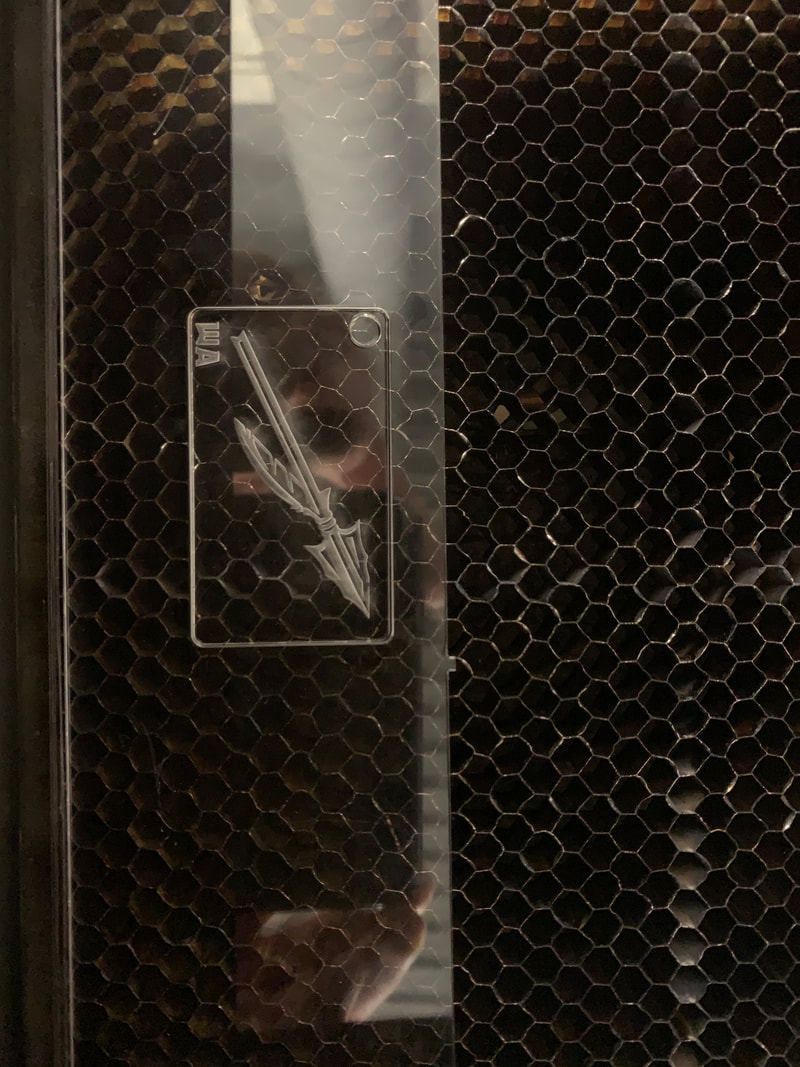
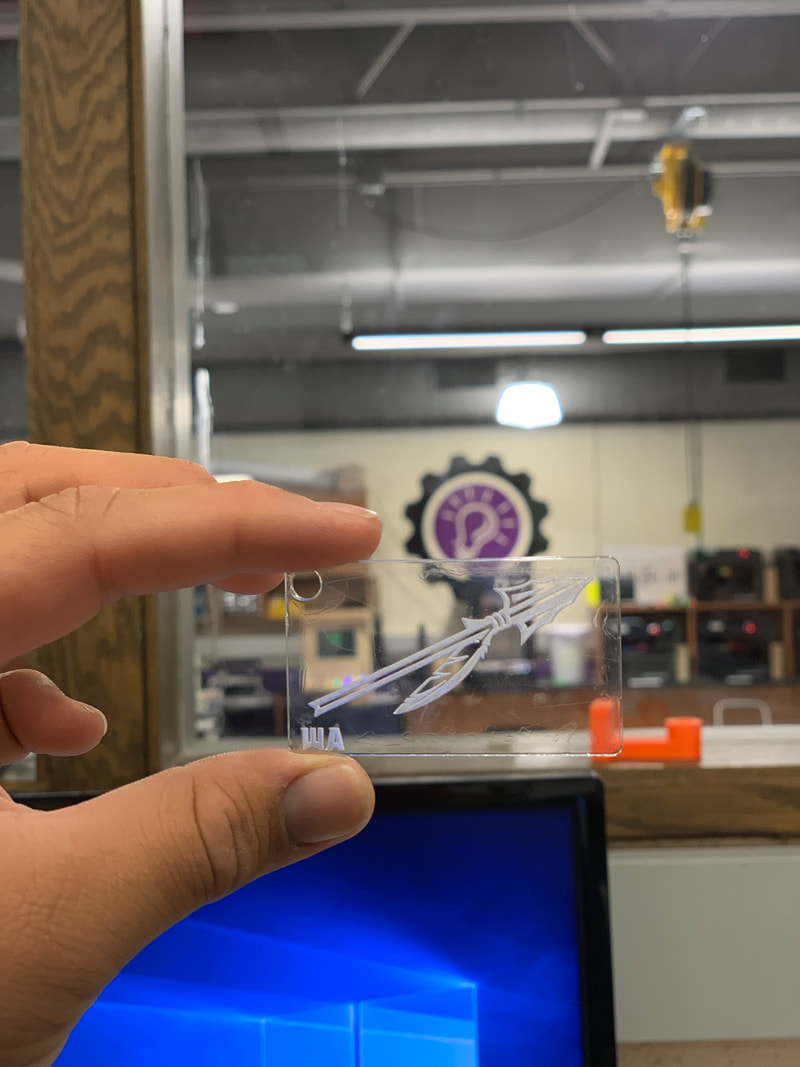
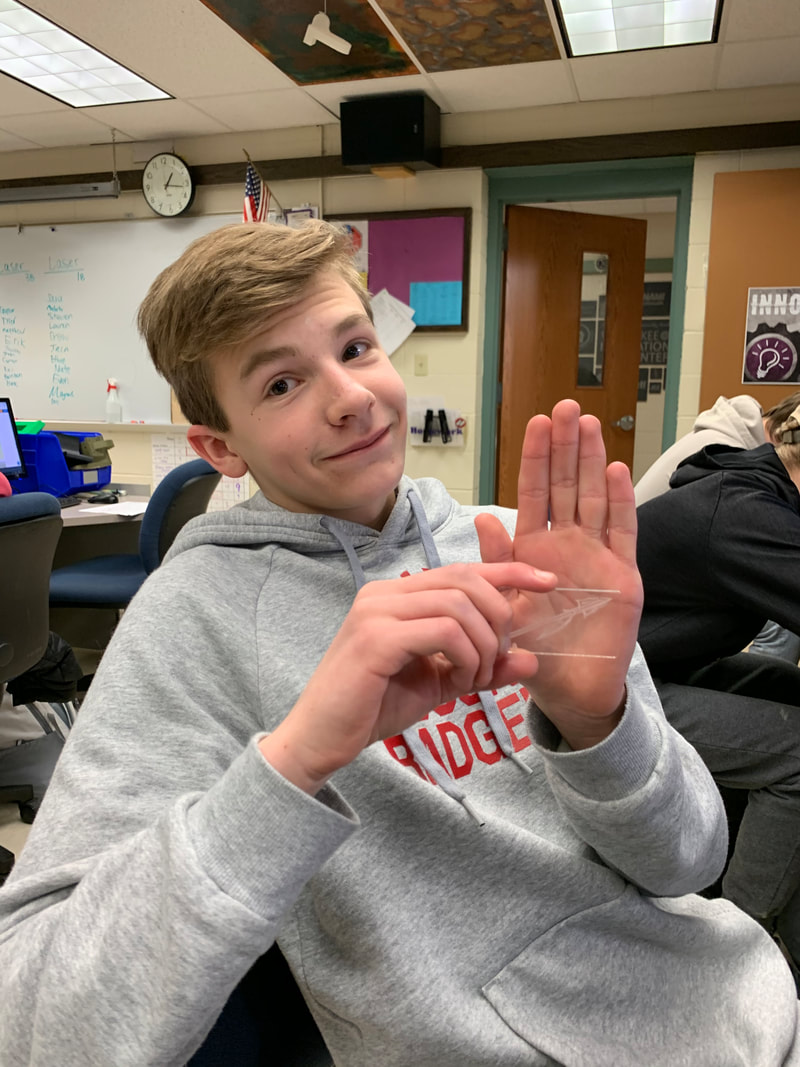
In class, we created key-chains designing them in Adobe Illustrator. My key-chain featured the spear Waunakee uses on their helmets and the main logo of the sports, along with my initials in the specific font Waunakee uses as well.Listed below are the steps to create the key chain.
|
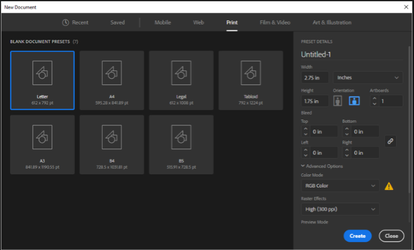
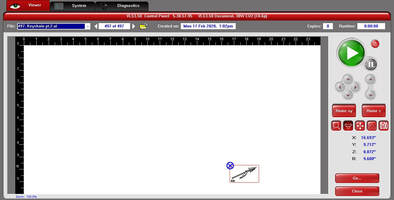
1. Open Illustrator and select "Create New", from there we select "Print", change our unit of measurement to inches, and create a working surface of 2.75 x 1.75 inches. We change the orientation to Landscape, and select RGB color.
|
|
|
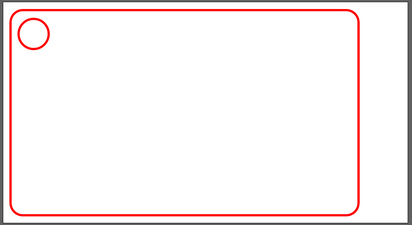
2. Once we are in the work space, we click on "Window", and select "Control". We then click on "View", and select "Preview with CPU". On the left side we have the tool bar. We will select the "Rectangle" tool. Clicking on the upper left hand corner of the work space, we drag and stretch the rectangle outwards to our heart's content. We then create a circle by holding down the Rectangle Tool and selecting the "Elipse Tool". We begin to create it by holding Shift and dragging it across the screen until it reaches a diameter of 0.2".
|
|
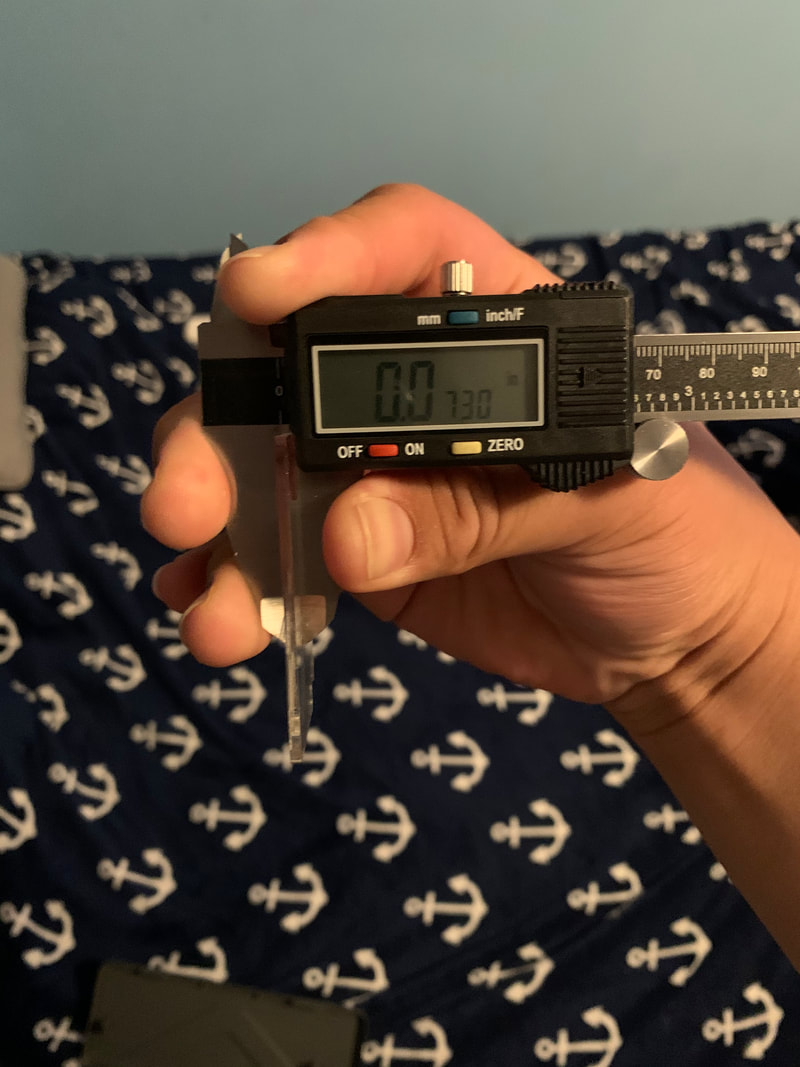
3. We change the stroke size of this to 0.0001 points rather than 1. For the sake of easy viewing, I left the stroke at 1 point and changed it to 0.0001 to cut it out. We also change the color of the outlines to red by selecting on the color and double clicking on red, and move the sliders to Red: 255, Blue: 0, Green: 0.
|
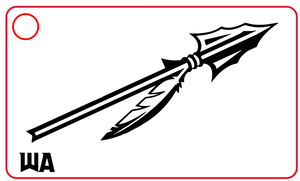
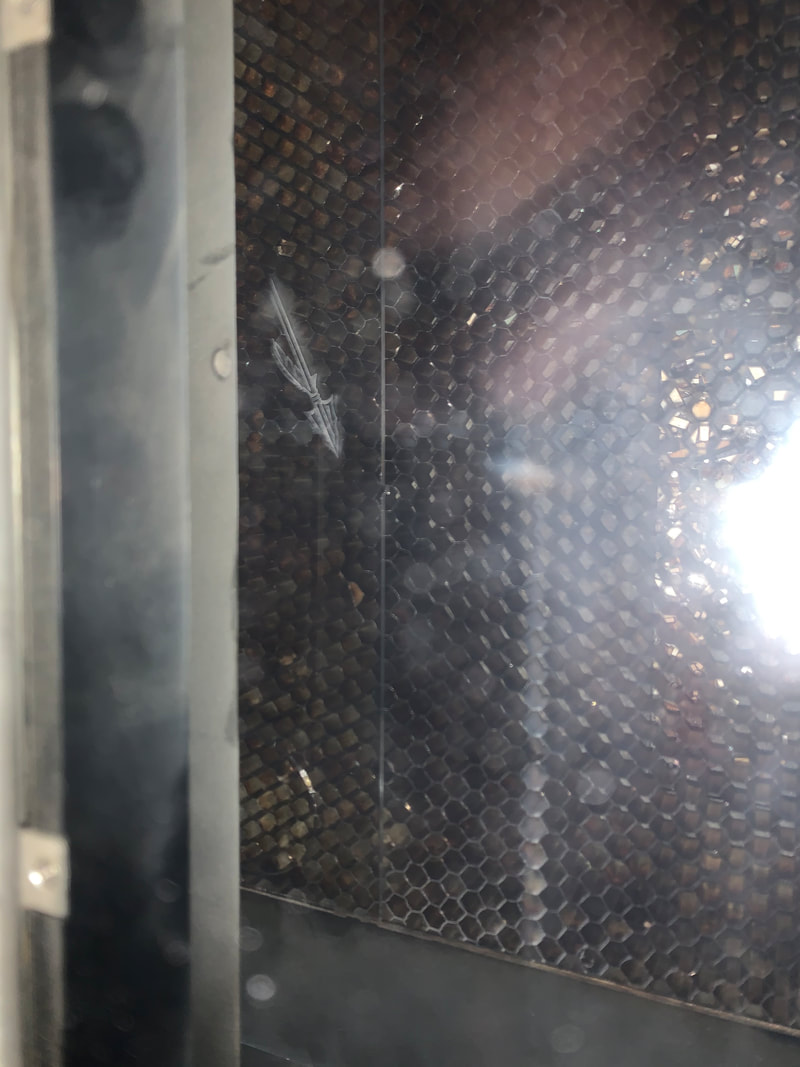
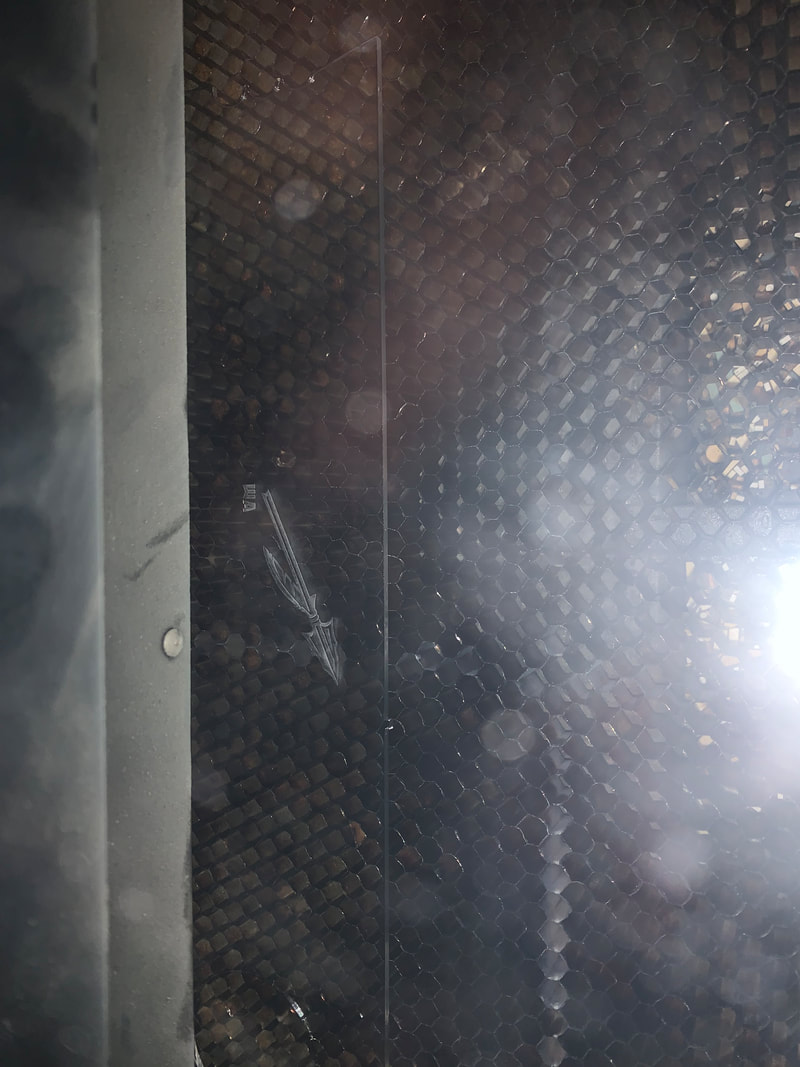
4. Because Waunakee uses the same logo and font as Florida State University, I looked up FSU spear black and white and selected the first image to use in my design. I then selected the drop down arrow next to "Image Trace" on the top toolbar. I then selected the little square icon on the right side toolbar, and created the following "formula" to create my ideal spear. It is very important to select the "Ignore White" box.
|

|
|
5. Illustrator doesn't have the Florida State font used by their sports program. The solution? Look for an image of the font, create "snips" of the letters, and insert them as images. I first inserted the "W" and then the "A". This is the image of the completed design.
|
|
|
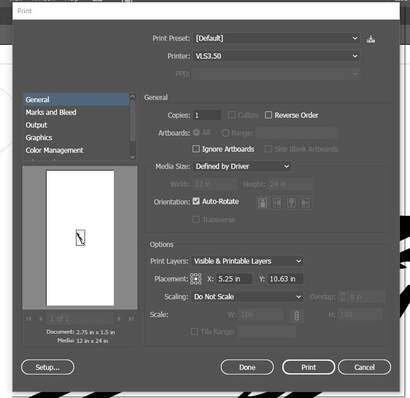
6. We now save our design to our USB Flash drive provided to us by Mrs. Proctor. From there, we transition to the laptop next to the laser. We now select "File", then "Print". Once we reach this page, we select "Setup", from there we select "Preferences". Then we select "Print" then "Print" again.
|
|
|
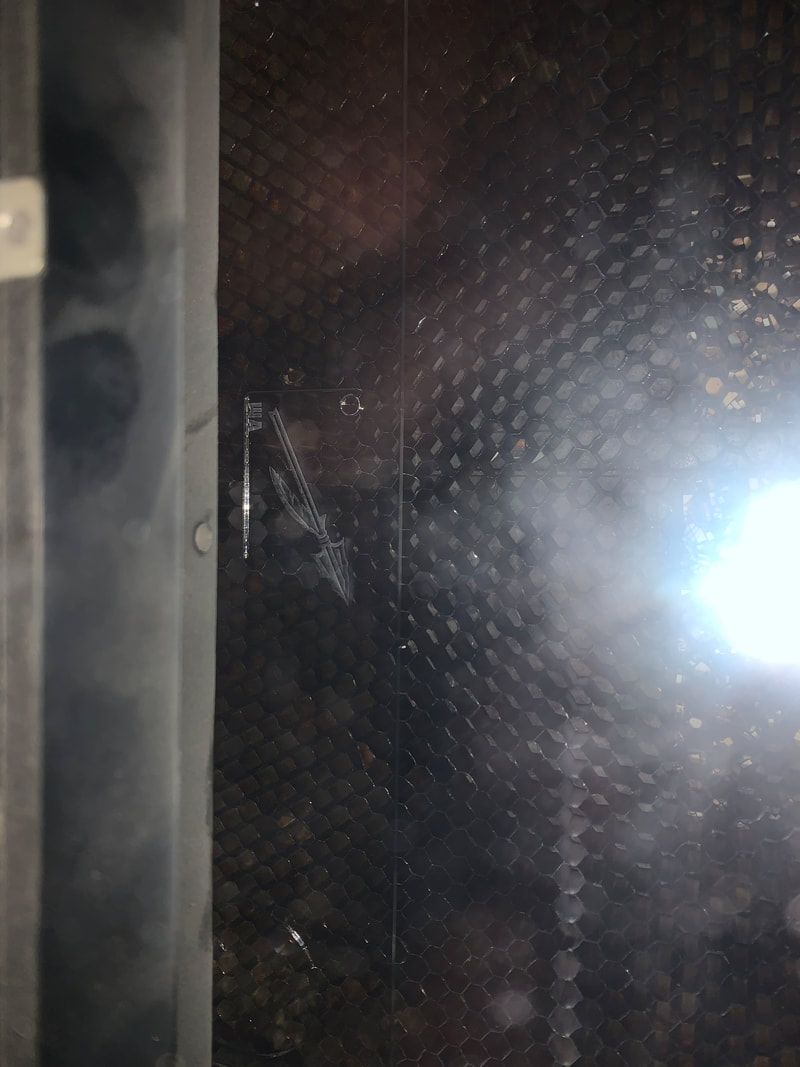
7. We now open UCP, the program we use to program the lasers. In the top toolbar, we select the "Materials Database", select "Plastic", then "Acrylic", then "Extruded Acrylic". We then put the thickness of the piece of acrylic we are using in the database. Using the pointer button (The darkest one selected), we move it around and the laser moves to the point. Once we find a place that is on the acrylic. We now select the relocation button (located next to the pointer button), select the top left corner, and select "To Pointer", and will locate your image to the pointer. We then move the pointer around to make sure the design stays inside the boundaries. If everything is good to go, we close the door, and hit the green button. Make sure the exhaust is on while using the laser.
|
|

Using the Laser
|
|
|
Finished Product
|
|
|
Vinyl Project
Mrs. Proctor created our names in Vinyl in class and told us to apply them to our designer notebooks. Listed below are the steps to apply a decal to a designer notebook.
|
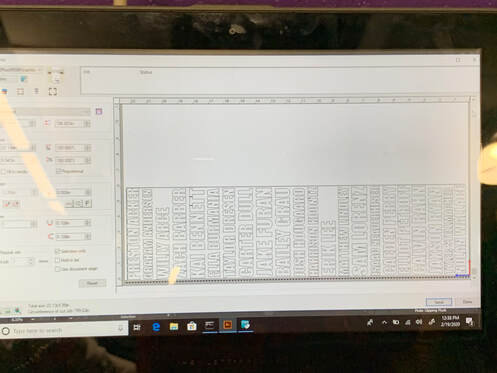
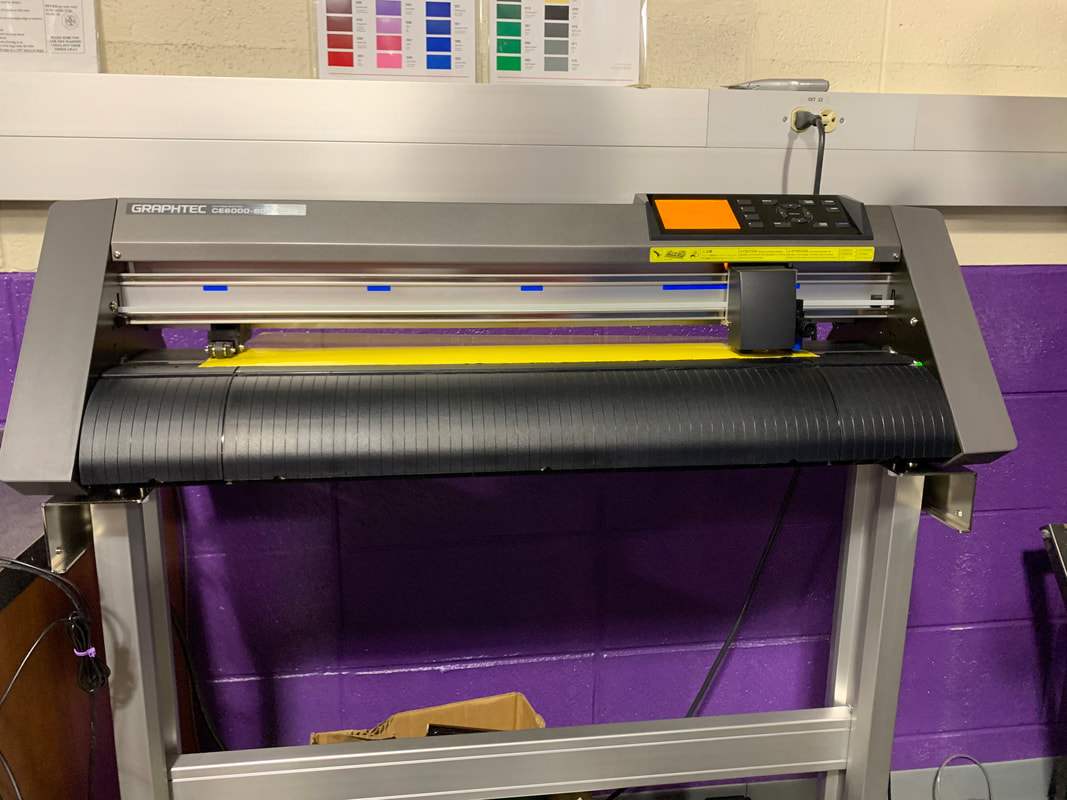
1. This is the file created by Mrs. Proctor to create our names in yellow vinyl. We then feed the vinyl cutter with the roll of yellow vinyl. We have to make sure the little wheels are in place to be able to feed the vinyl through the cutter.
|
|
|
|
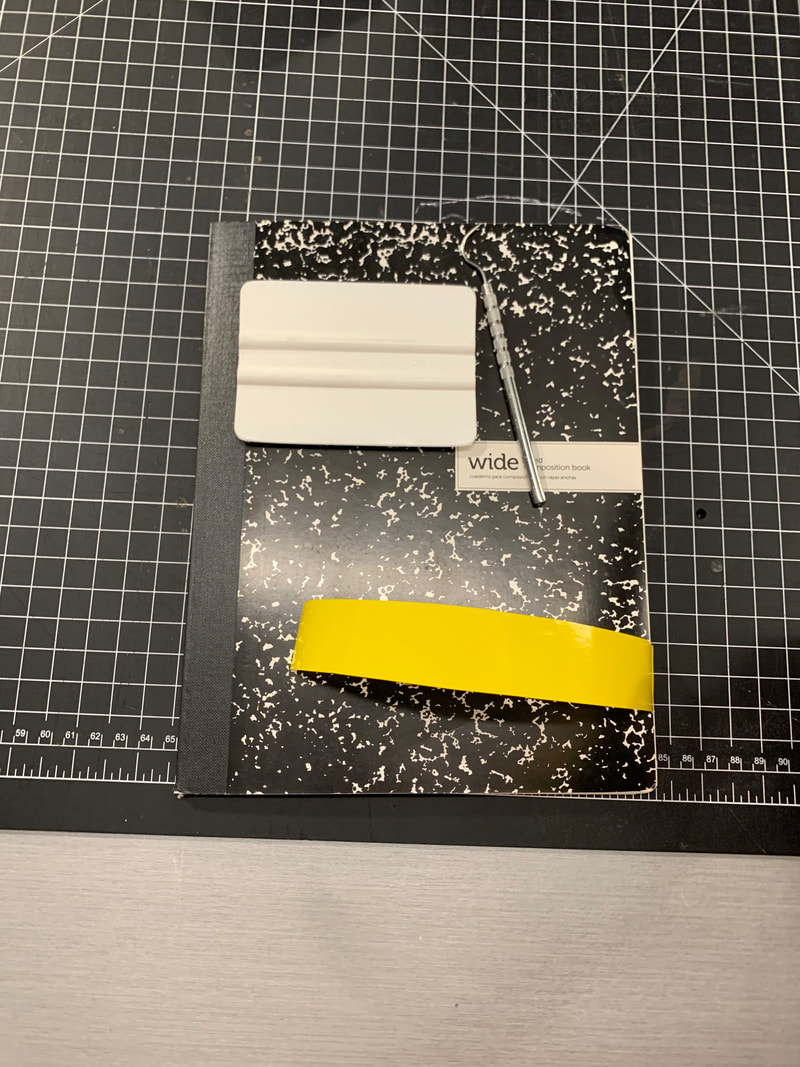
2. Get materials to apply the decal to the notebook, which include a squeegee, a dental tool, transfer tape, notebook, and the vinyl decal.
|
|
|
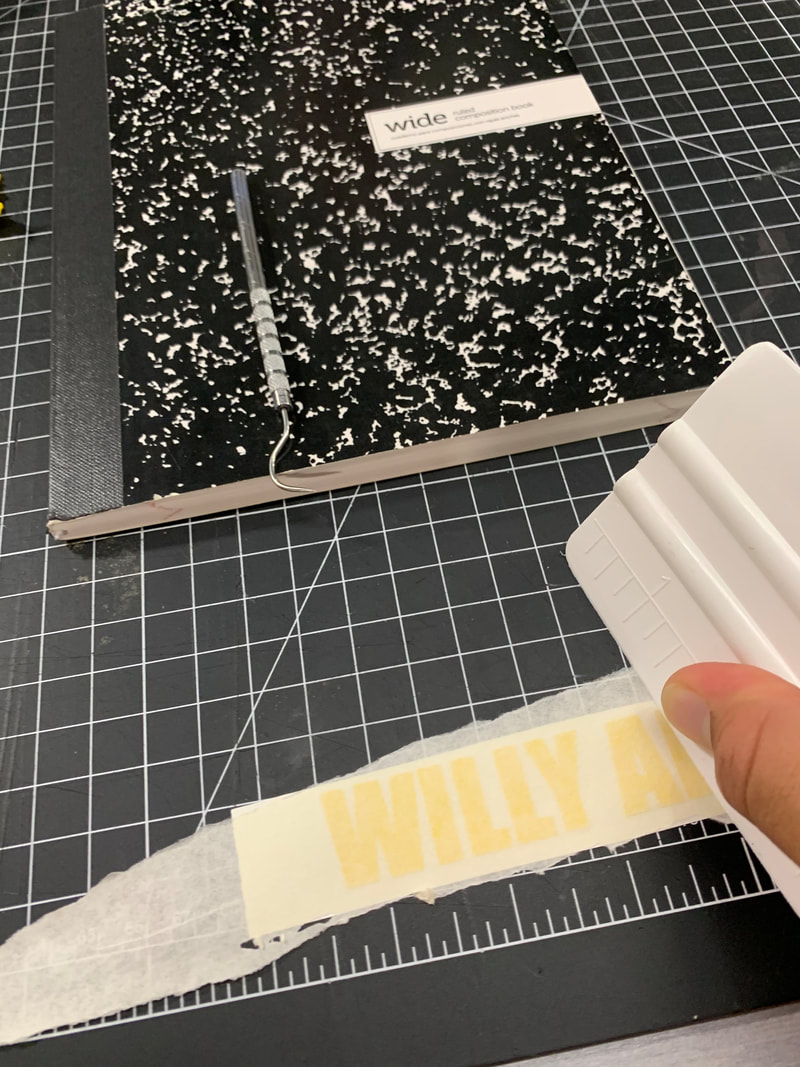
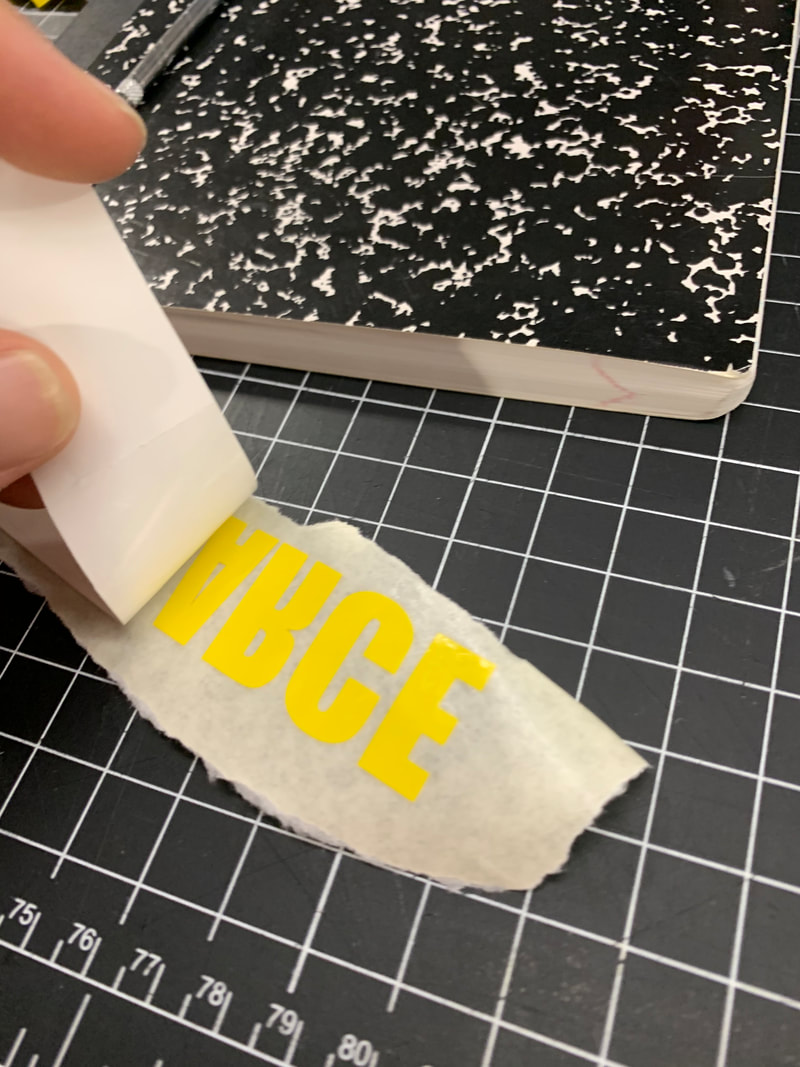
3. Begin to remove the excess vinyl from the name. Do not forget the little spaces in letters as well.
|

|
|
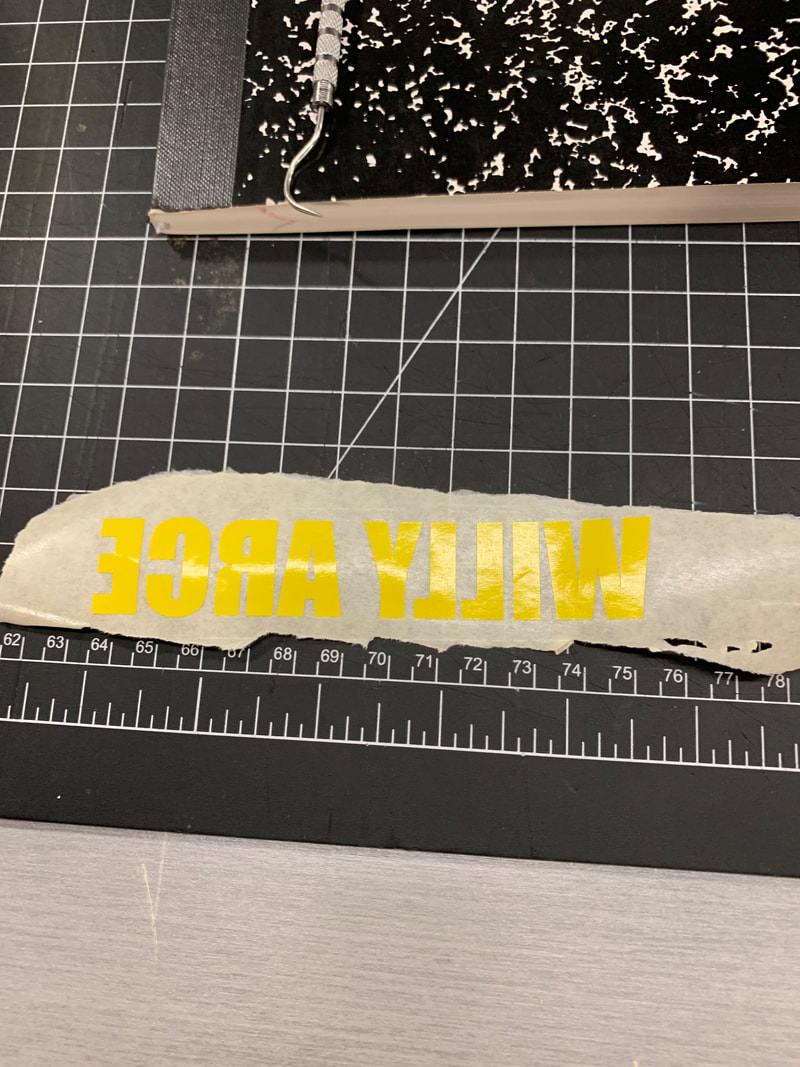
4. Using the transfer tape, place a layer over the decal and use the squeegee to get as much air bubbles out as possible.
|
|
|
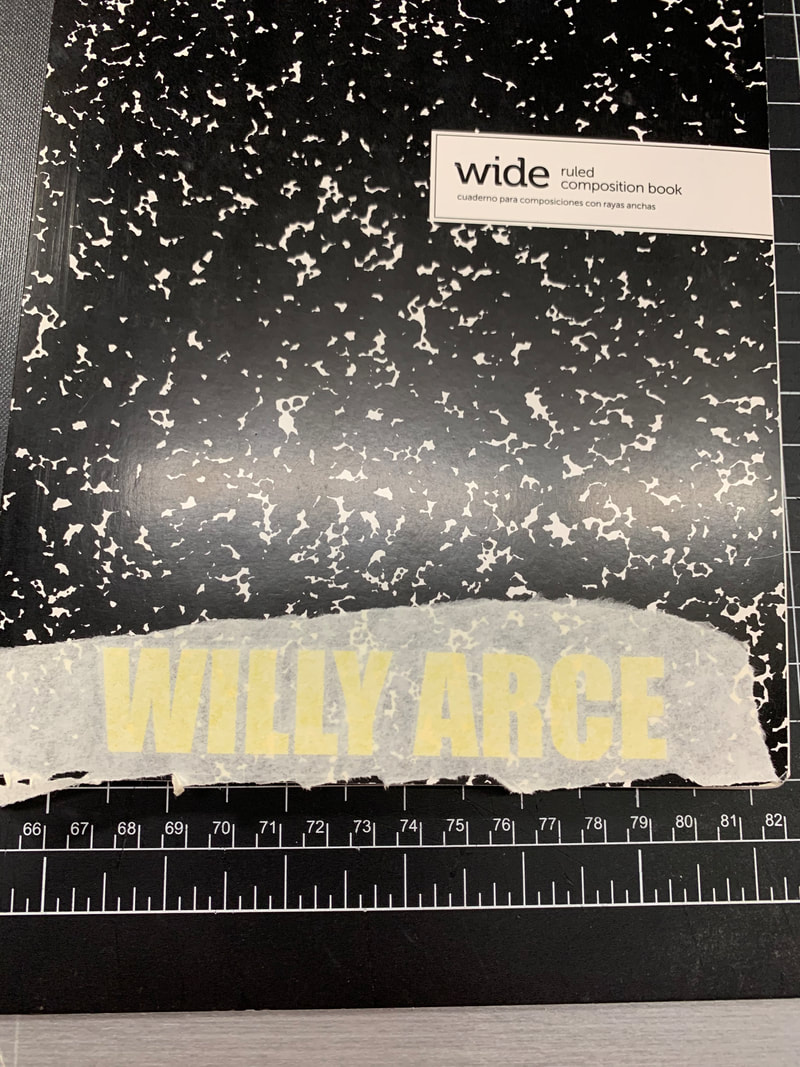
5. Flip the decal over and begin removing the backing slowly, using the dental tool to keep the decal stuck to the transfer tape.
|
|
|
|
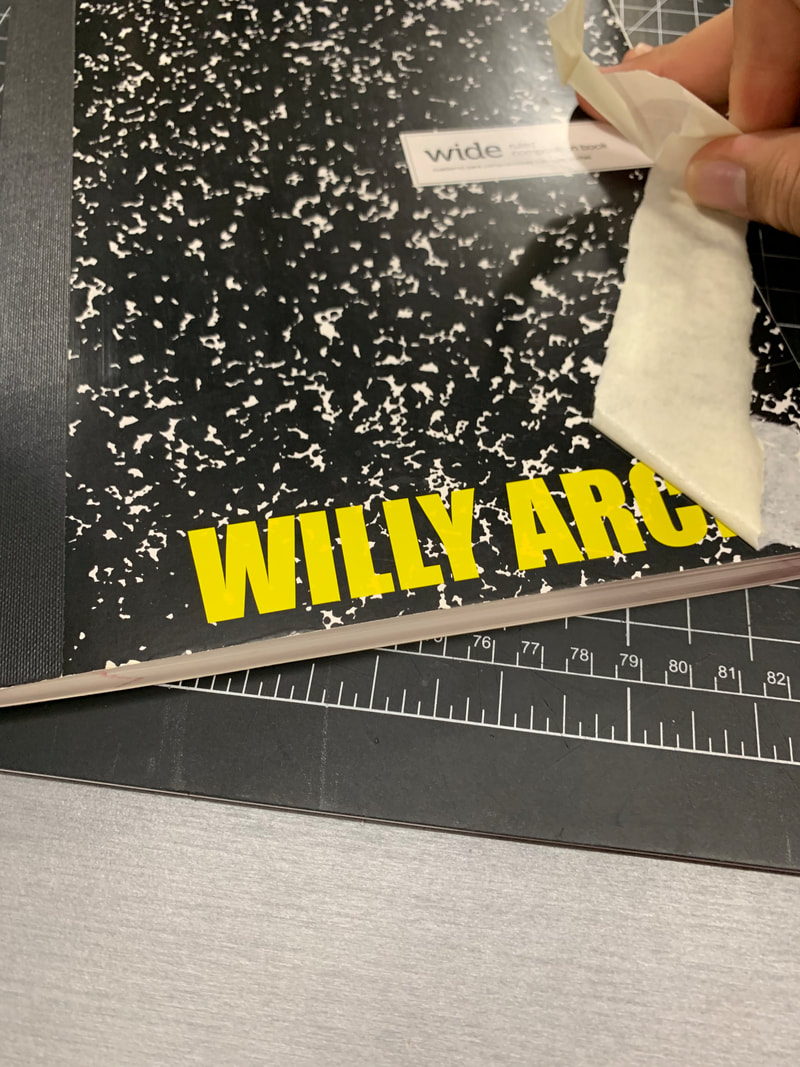
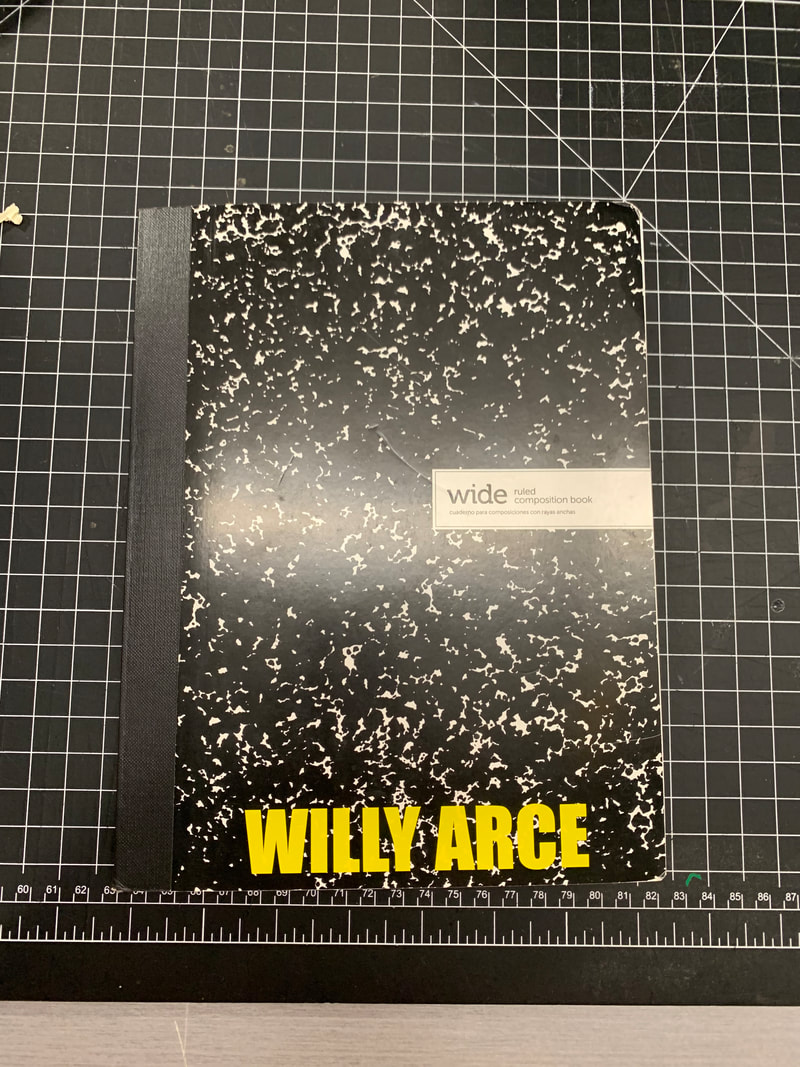
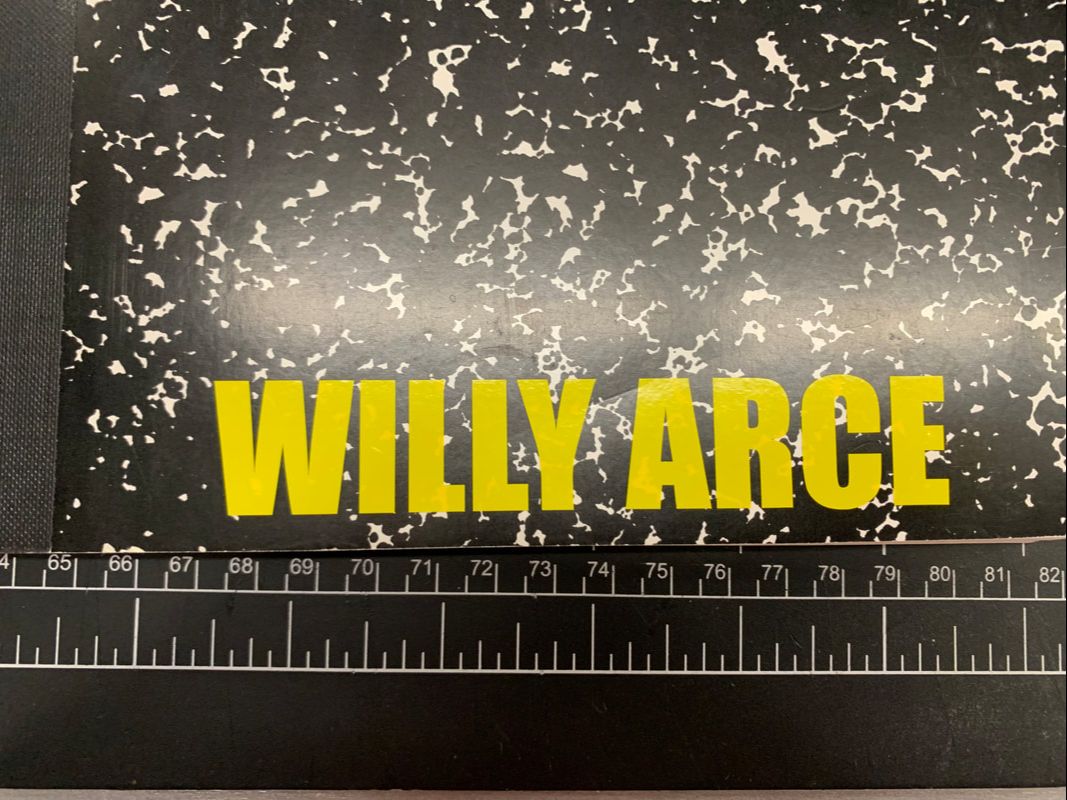
6. Apply decal to designer notebook. Using the squeegee again to make sure it sticks to the surface. Begin to peel the tape away from the notebook and you are done.
|
|
|
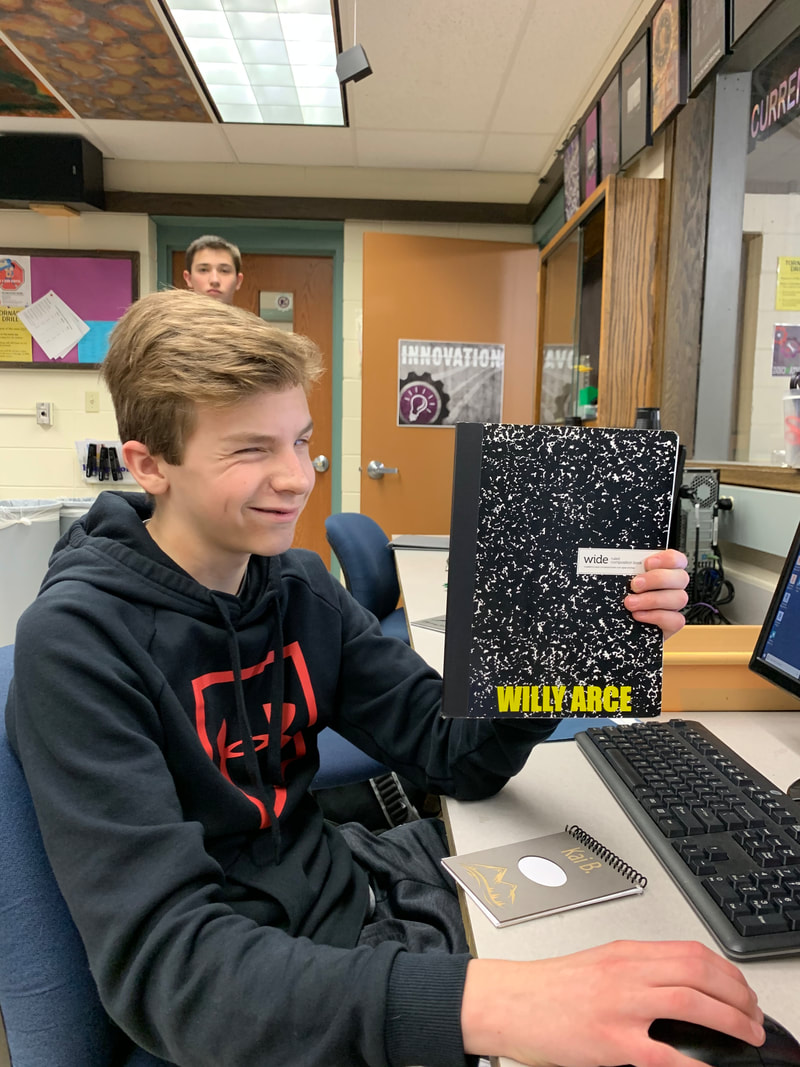
Finished Product
|
|
|
What I Learned
In this new segment of this class, I learned how to use Illustrator, a program I've been interested in using for a while now. I am so glad I had the chance to work with a program I see using in my future profession. Learning to use the vinyl machine was also helpful because I believe there will be chances when I will need to use vinyl in personal projects coming up. I can't wait to keep learning more in depth features about Illustrator and am very happy with results so far.
